
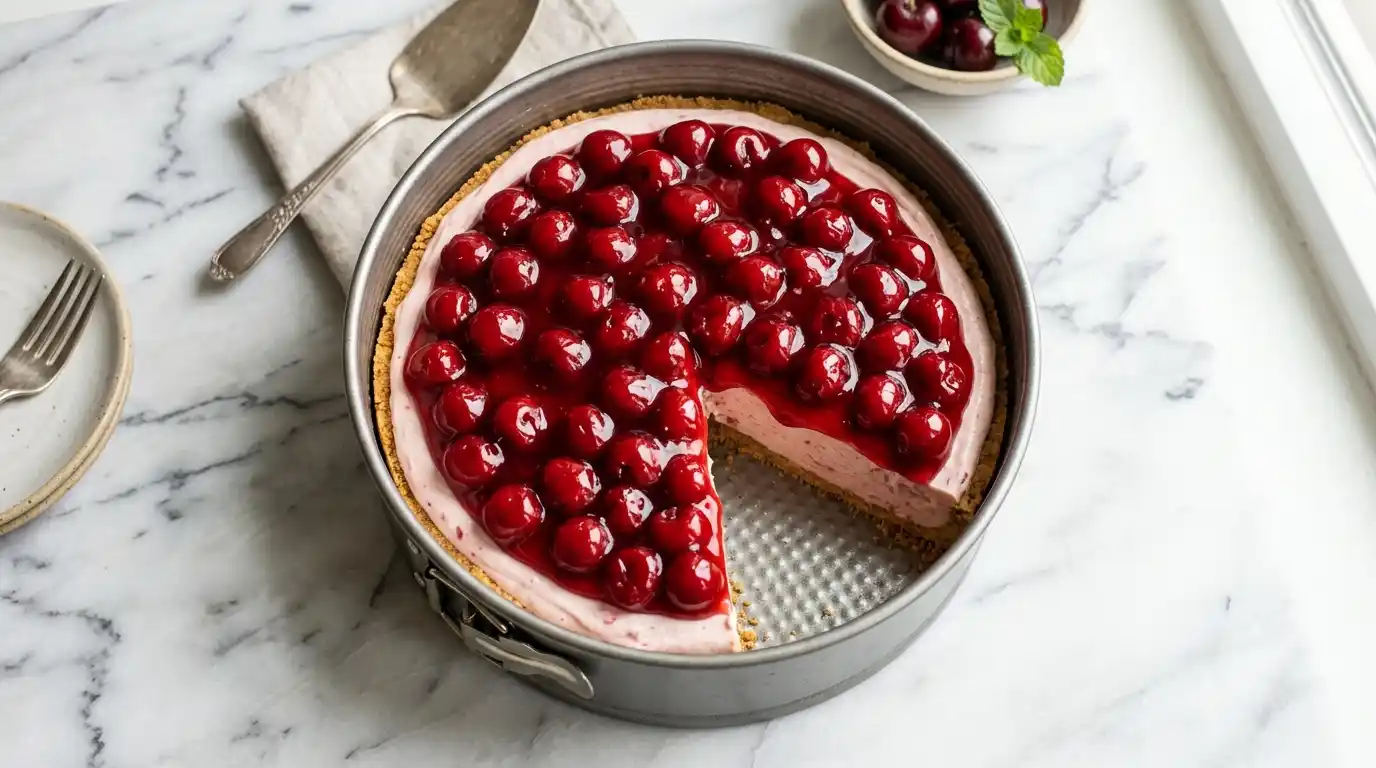
This no-bake cherry cheesecake recipe layers a buttery graham cracker crust with a creamy, tangy filling and a glossy sweet cherry topping. It comes together without ever touching the oven, making it a reliable go-to for warm-weather gatherings and holiday tables alike.
- Prep Time: 25 minutes
- Chill Time: 5 hours (overnight recommended)
- Cook Time: None (no-bake)
- Total Time: 5 hours 25 minutes
- Servings: 10
- Estimated Calories: 380 per serving
Ingredients at a Glance
- 1 1/2 cups graham cracker crumbs
- 6 tablespoons melted butter
- 2 (8 oz) blocks cream cheese, softened
- 3/4 cup powdered sugar
- 1 teaspoon vanilla extract
- 1 1/2 cups whipped topping or whipped heavy cream
- 1 (21 oz) can cherry pie filling
Quick Instructions
- Mix graham crumbs with melted butter and press into a pan.
- Beat cream cheese with powdered sugar and vanilla until smooth.
- Fold in whipped topping.
- Spread filling over the crust and smooth the top.
- Chill at least 5 hours, then top with cherry pie filling before serving.
Notes: Add the cherry topping right before serving, not before chilling, so the crust stays firm and the topping stays glossy.
Table of Contents
Why This Cherry Cheesecake Recipe Works
A great cherry cheesecake recipe should taste rich and tangy without needing a water bath, a springform pan in the oven, or careful temperature watching. This no-bake version relies on whipped cream cheese and a stabilizing dose of whipped topping to set the filling in the refrigerator, so the texture ends up light rather than dense.
It’s an easy choice for birthdays, potlucks, and holiday dinners, and it holds up well when made a day ahead. If you’re also serving guests who avoid wheat, this gluten free dessert recipe makes a nice addition to the same dessert table.
Why You’ll Love This Cherry Cheesecake
- No oven, no water bath. Everything sets in the fridge.
- Make-ahead friendly. Tastes even better the next day.
- Simple ingredient list. No specialty items required.
- Crowd-pleasing. A classic flavor combination almost everyone loves.
- Customizable topping. Swap cherries for other fruit without changing the base recipe.
What Makes This Recipe Special
Unlike a baked cheesecake, this one skips cracking, sinking, and overbaking entirely. The filling gets its structure from properly softened cream cheese and gently folded whipped topping, not from eggs or heat, which means fewer variables to worry about and a shorter ingredient list overall.
Ingredients
This cherry cheesecake recipe uses simple, easy-to-find ingredients for a 9-inch springform pan. Exact amounts and substitution ideas are covered in the ingredient notes below, and the full printable recipe card is near the end of this article.
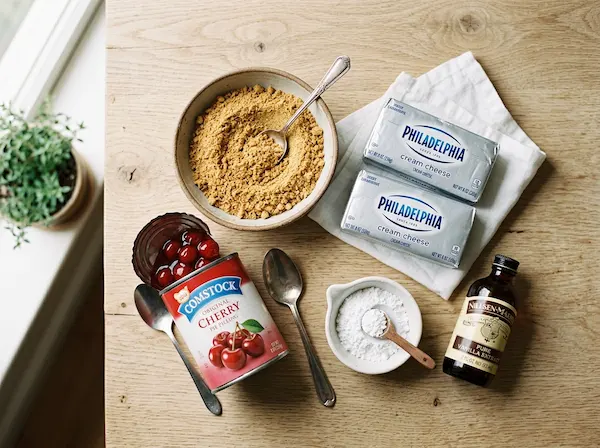
- Graham cracker crumbs
- Melted butter
- Cream cheese, softened
- Powdered sugar
- Vanilla extract
- Whipped topping or heavy cream
- Cherry pie filling
Ingredient Notes
Graham Cracker Crust
A mix of fine graham cracker crumbs and melted butter creates a crust that holds together without baking, as long as it’s pressed firmly and chilled before filling. Crushing the crackers finely, rather than leaving coarse chunks, makes the difference between a crust that slices cleanly and one that crumbles apart.
Cream Cheese
Full-fat block cream cheese, not the spreadable tub kind, gives this filling its structure. It needs to soften fully at room temperature for about an hour before mixing, since cold cream cheese leaves lumps that never fully smooth out.
Heavy Cream or Whipped Topping
Whipped topping is the simpler route and holds its shape reliably in the fridge. If you’d rather whip your own heavy cream, whip it to stiff peaks first so it folds in without deflating the filling.
Powdered Sugar
Powdered sugar sweetens the filling smoothly without any graininess, which regular granulated sugar can leave behind in a no-bake filling. Sift it first if it’s clumpy.
Vanilla
Pure vanilla extract rounds out the tanginess of the cream cheese. Imitation vanilla works in a pinch, but real vanilla extract gives a noticeably richer flavor here since nothing else in the recipe is baked to mellow it out.
Cherry Pie Filling
Canned cherry pie filling is the easiest route and already has the right thickened, glossy consistency for topping a chilled cheesecake. Look for one labeled “more fruit” if you prefer a chunkier topping with less syrupy filler.
Substitutions and Buying Tips
Reduced-fat cream cheese will work, though the filling turns out slightly softer. If you can find them, fresh pitted cherries simmered briefly with a little sugar and cornstarch make a homemade topping that tastes noticeably fresher than canned.
Storage Overview
This cheesecake keeps well covered in the refrigerator for up to 5 days. It also freezes reasonably well without the cherry topping, which is best added fresh after thawing.
Kitchen Tools You’ll Need
- 9-inch springform pan
- Large mixing bowl and hand or stand mixer
- Rubber spatula
- Measuring cups and spoons
- Offset spatula for smoothing the top
- Sharp knife for slicing
Step-by-Step Instructions
Step 1: Build the Crust
Stir graham cracker crumbs with melted butter until the mixture looks like wet sand, then press it firmly into the bottom of a springform pan using the back of a spoon or a flat-bottomed cup.
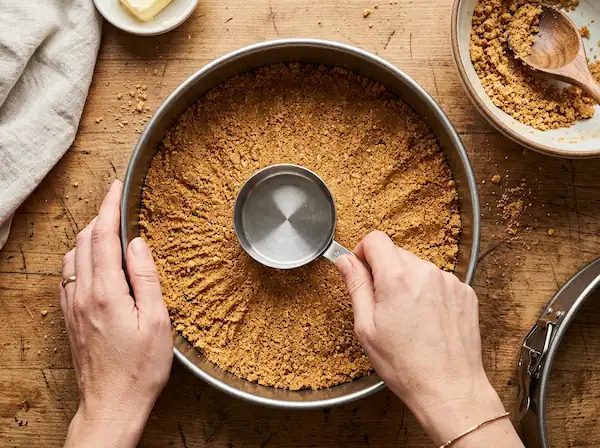
What to Look For: The crust should feel firm and compact when pressed, with no loose, dry crumbs on top.
Helpful Tip: Press from the center outward to build an even layer instead of pushing crumbs up the sides accidentally.
Step 2: Chill the Crust
Place the pressed crust in the refrigerator for at least 15 minutes while you prepare the filling.
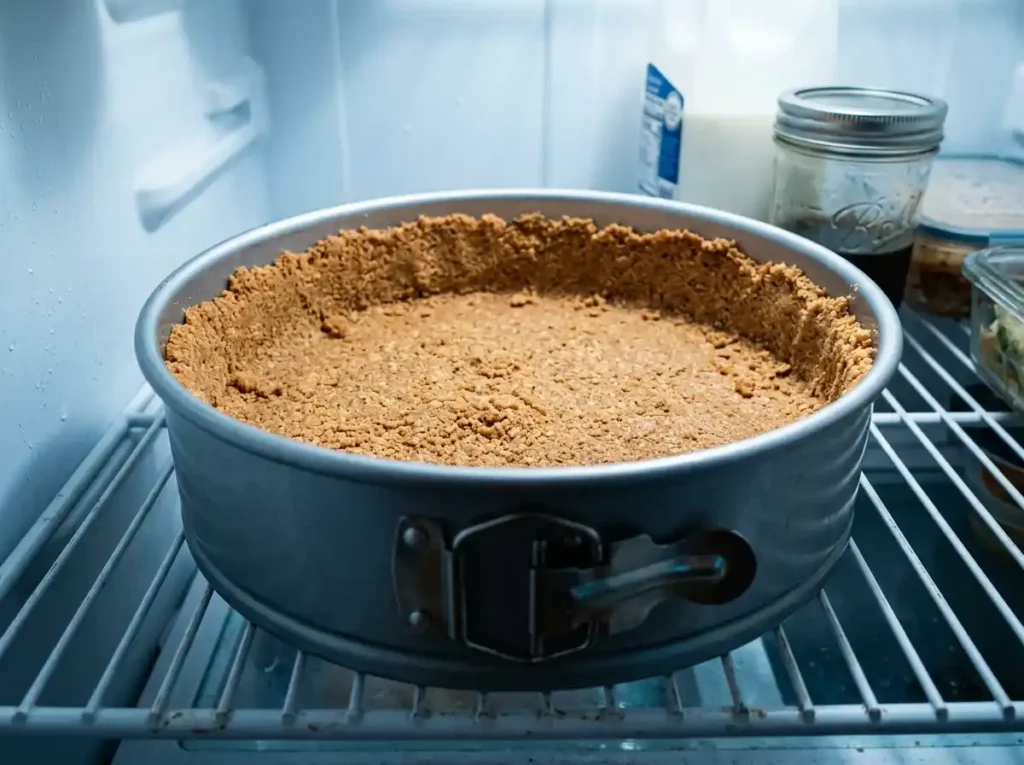
What to Look For: The crust should feel cool and firm to the touch, not soft or greasy, before you add the filling.
Helpful Tip: Chilling the crust first prevents the filling from soaking into it and making the base soggy.
Step 3: Beat the Cream Cheese
Beat the softened cream cheese on medium speed for about 2 minutes until completely smooth, scraping down the sides of the bowl once or twice.
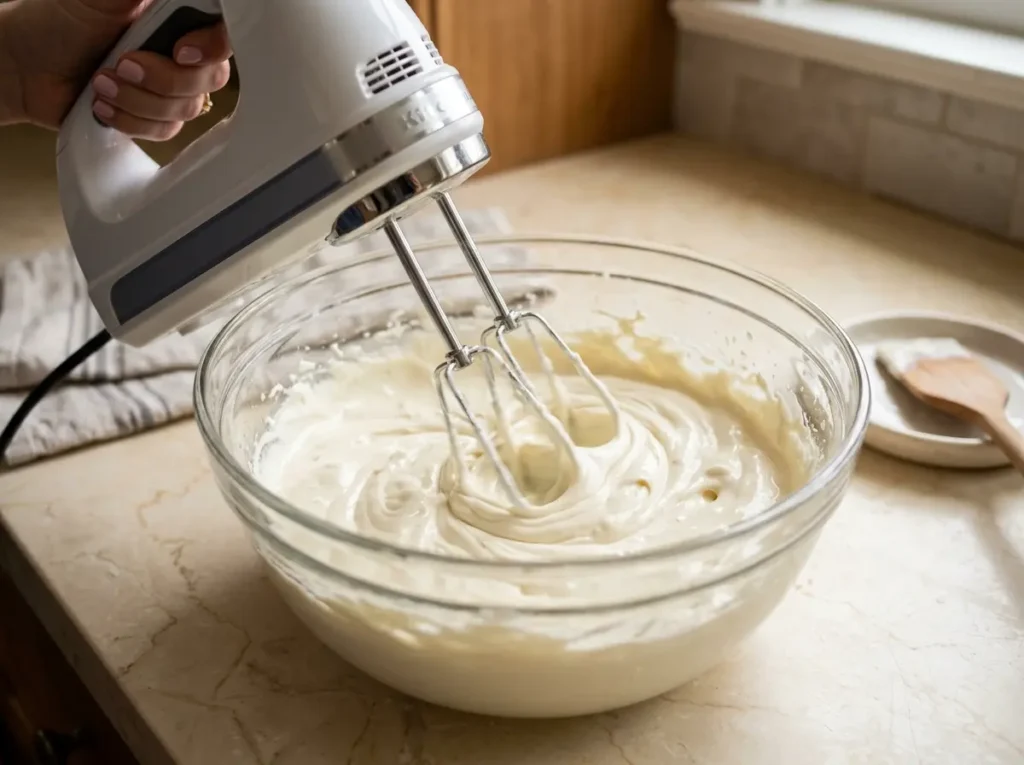
What to Look For: The cream cheese should look silky and lump-free, with no visible streaks along the sides of the bowl.
Helpful Tip: Room-temperature cream cheese is non-negotiable here — cold cream cheese leaves permanent lumps no amount of mixing will fix.
Step 4: Add Sugar and Vanilla
Add the powdered sugar and vanilla extract, then beat again on low speed until fully combined and smooth.
What to Look For: The mixture should look pale, glossy, and evenly colored with no streaks of powdered sugar remaining.
Helpful Tip: Start on low speed to avoid a cloud of powdered sugar escaping the bowl.
Step 5: Fold in the Whipped Topping
Gently fold the whipped topping into the cream cheese mixture using a rubber spatula, turning the bowl as you go until no white streaks remain.
What to Look For: The filling should look light, fluffy, and evenly colored, noticeably airier than the cream cheese mixture alone.
Helpful Tip: Fold gently rather than stirring — overmixing here deflates the filling and results in a denser cheesecake.
Step 6: Fill the Pan
Spread the filling evenly over the chilled crust using an offset spatula, smoothing the top as flat as possible.
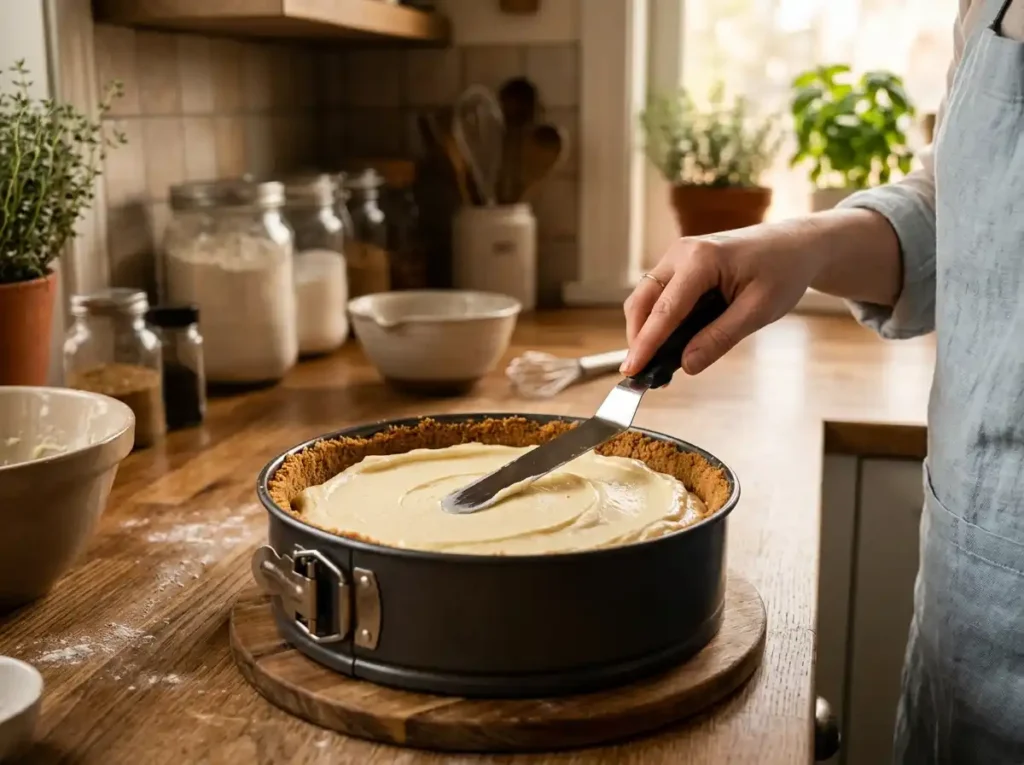
What to Look For: The surface should look smooth and level, without gaps along the edges of the pan.
Helpful Tip: Tap the pan gently on the counter a few times to release any air bubbles before chilling.
Step 7: Chill Completely
Cover the pan and refrigerate for at least 5 hours, though overnight gives the cleanest slices and firmest texture.
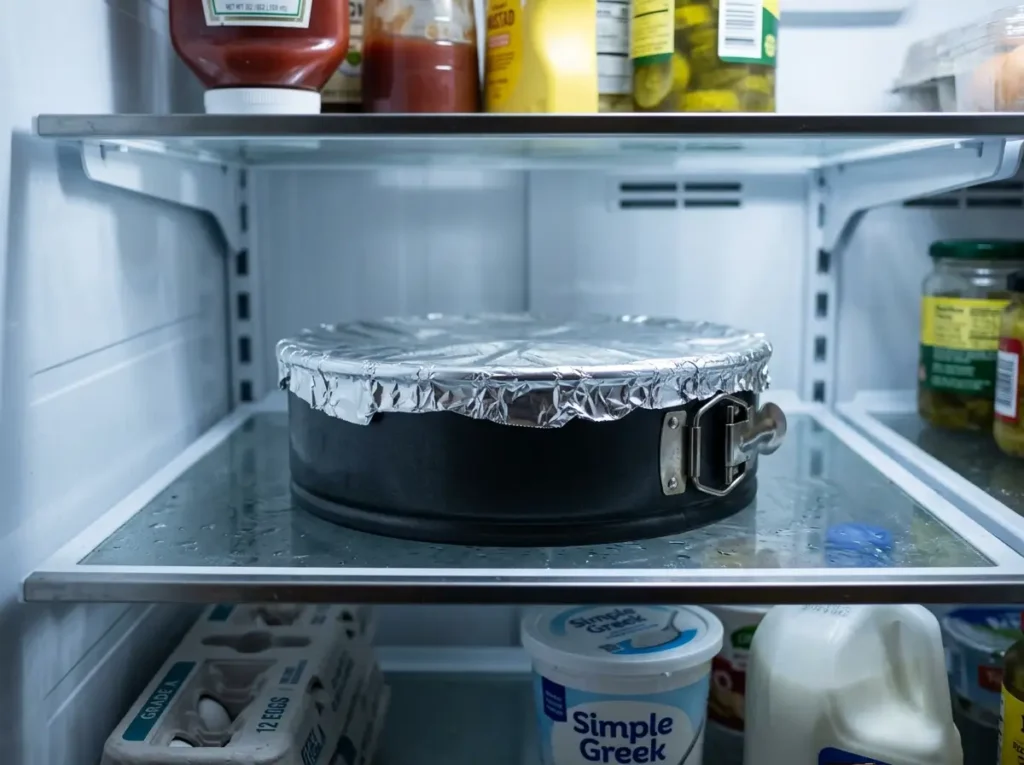
What to Look For: The filling should feel firm and set to a light touch, not soft or jiggly in the center.
Helpful Tip: Resist the urge to add the cherry topping early — wait until just before serving so it stays glossy instead of soaking into the filling.
Step 8: Add the Cherry Topping
Once fully chilled, release the springform ring, then spoon the cherry pie filling evenly over the top, working from the center outward.
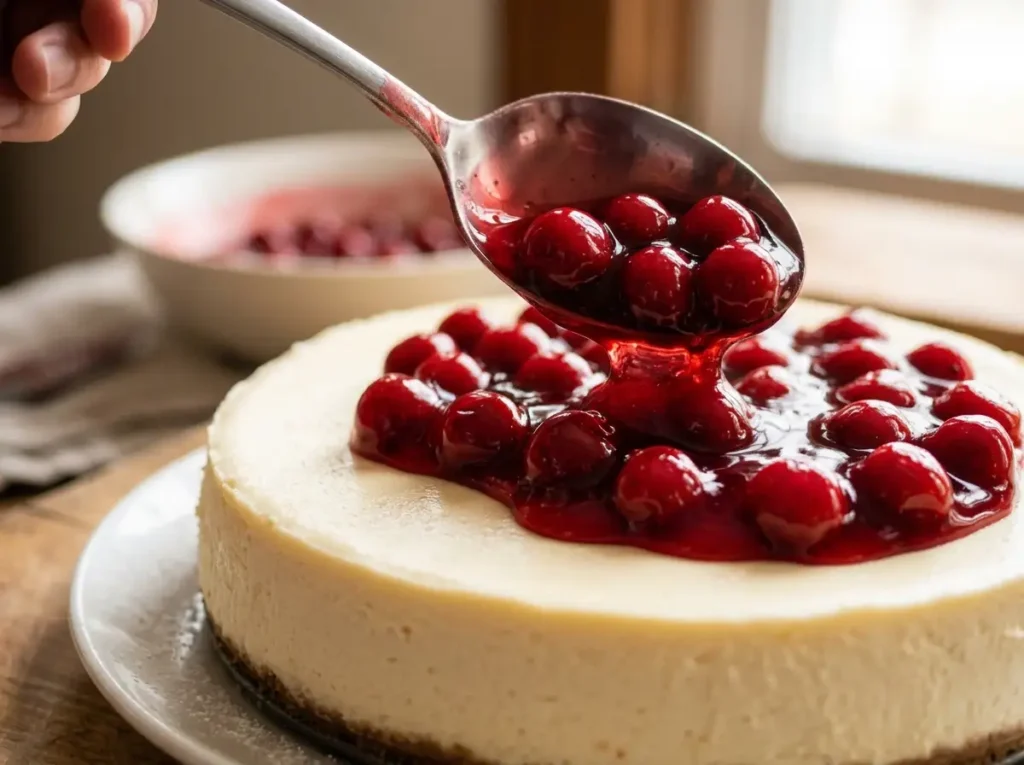
What to Look For: The topping should look glossy and evenly distributed, with cherries visible across the entire surface.
Helpful Tip: Add the topping just before serving for the shiniest appearance and the cleanest slices.
Step 9: Slice and Serve
Slice with a sharp knife, wiping the blade clean and dipping it in warm water between cuts for the neatest presentation.
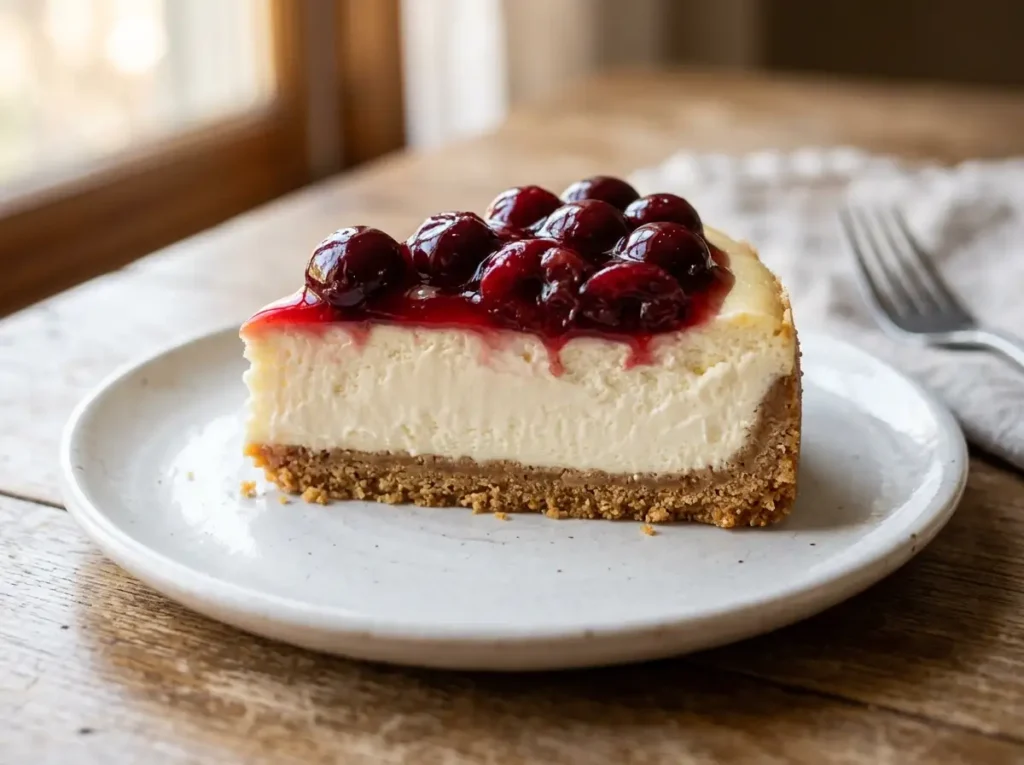
What to Look For: Each slice should hold its shape, with a distinct crust, filling, and cherry topping visible in the cross-section.
Helpful Tip: Let the cheesecake sit at room temperature for 5 minutes before slicing for the cleanest cuts.
Expert Tips
These tried-and-true tips will help your cherry cheesecake recipe turn out perfectly every time.
- Let cream cheese sit out for a full hour — shortcuts here almost always leave lumps.
- Use a food processor to crush graham crackers into fine, even crumbs for the sturdiest crust.
- Line the springform pan bottom with parchment paper for effortless removal later.
- Chill the crust before filling to prevent a soggy bottom layer.
- Fold, don’t stir, once whipped topping goes into the mixture.
- Tap the filled pan on the counter to release trapped air bubbles before chilling.
- Give the cheesecake the full chill time — rushing this step is the most common cause of soft slices.
- Wait to add the cherry topping until just before serving for the glossiest finish.
- Run a thin knife around the edge of the pan before releasing the springform ring.
- Warm your knife blade slightly under hot water for bakery-clean slices.
- Taste the filling before it goes into the pan — this is your last chance to adjust sweetness.
- Store leftovers tightly covered so the crust doesn’t pick up fridge odors.
Common Mistakes to Avoid
Soft, Underset Filling
This usually means the cheesecake didn’t chill long enough. Give it the full 5 hours, or better yet, chill it overnight for the firmest texture.
Overmixing the Filling
Beating too long after adding whipped topping knocks the air out and leaves a dense, heavy filling. Fold gently and stop as soon as the streaks disappear.
Warm Cream Cheese Left Out Too Long
Cream cheese left out for hours can start to sweat and separate. An hour at room temperature is usually enough — no need to rush it, but no need to overdo it either.
Not Chilling Long Enough
Cutting into the cheesecake before it’s fully set results in slices that collapse instead of holding their shape. Patience here pays off in presentation.
A Thin, Fragile Crust
Skimping on butter or not pressing firmly enough leaves a crust that crumbles when sliced. Press firmly and evenly, and don’t be shy with the melted butter.
Adding the Cherry Topping Too Early
Topping the cheesecake before chilling lets the syrup soak into the filling and turns the top pink and watery instead of glossy.
Messy, Uneven Slices
Cutting straight through without cleaning the knife smears the layers together. Wipe the blade clean after every single slice.
Easy Variations
Strawberry Version
Swap the cherry pie filling for strawberry pie filling or fresh sliced strawberries tossed in a little sugar.
Blueberry Version
Top with blueberry pie filling instead, or a quick homemade blueberry compote for a fresher flavor.
Chocolate Version
Fold 1/2 cup of mini chocolate chips into the filling and drizzle melted chocolate over the top before adding cherries.
Mini Cheesecakes
Press the crust into a muffin tin lined with paper liners for individual, portioned servings that need no slicing.
Oreo Crust
Replace the graham cracker crumbs with crushed Oreo cookies for a deeper, chocolatey base.
Lighter Version
Use reduced-fat cream cheese and a light whipped topping to cut down on richness without losing the classic flavor.
Serving Ideas
This cherry cheesecake recipe fits nearly any occasion that calls for something make-ahead and crowd-pleasing. Serve it at summer gatherings when you don’t want to heat up the kitchen, or bring it to a holiday dinner where oven space is already in high demand. It’s an easy birthday party dessert that slices neatly for a crowd, and a small slice pairs nicely with afternoon coffee or a cup of tea for a simple family dessert any day of the week.

For dessert-table variety, a keto cheesecake recipe or a lemon cheesecake recipe alongside this one gives guests a choice of flavors and dietary options without much extra effort.
Make-Ahead Tips
This cherry cheesecake recipe is built for making ahead, since it needs several hours to chill regardless. Assemble it up to 2 days in advance, keep it covered without the cherry topping, and add the topping just before serving for the freshest presentation.
Storage
Store leftovers covered tightly in the refrigerator for up to 5 days. The plain cheesecake, without the cherry topping, also freezes well for up to a month; thaw it in the refrigerator overnight and add fresh topping before serving. According to the FDA’s food storage guidance, dairy-based desserts like cheesecake should always be kept refrigerated below 40°F to stay safe to eat.
Frequently Asked Questions
Can I make this cherry cheesecake recipe ahead of a party?
Yes — it’s actually better made a day ahead, since the filling firms up and slices more cleanly after a full night in the fridge.
Why is my filling still soft after chilling?
It likely needs more time. Five hours is the minimum; overnight chilling gives the most reliable, sliceable texture.
Can I use fresh cherries instead of canned pie filling?
Yes — simmer pitted fresh cherries with a little sugar and cornstarch until thickened and glossy, then cool completely before topping the cheesecake.
Do I have to use a springform pan?
A springform pan makes removal much easier, but a regular pie dish works if you’re comfortable serving the cheesecake directly from it.
Can I freeze this cheesecake?
Yes, without the cherry topping. Freeze it well wrapped for up to a month, thaw overnight in the fridge, then add fresh topping before serving.
Why did my crust turn out crumbly?
The crumbs likely needed more butter, or weren’t pressed firmly enough. A firmly packed, well-buttered crust holds together much better once sliced.
Can I make this cheesecake gluten-free?
Yes — use a gluten-free graham cracker substitute for the crust, and double-check that your cherry pie filling and whipped topping are labeled gluten-free.
Final Thoughts
This no-bake cherry cheesecake recipe delivers a creamy, tangy filling and a glossy fruit topping without ever needing an oven. It’s forgiving enough for a first attempt and reliable enough to become a regular in your dessert rotation, especially anytime you need something made ahead that still looks impressive when it hits the table.
Notes
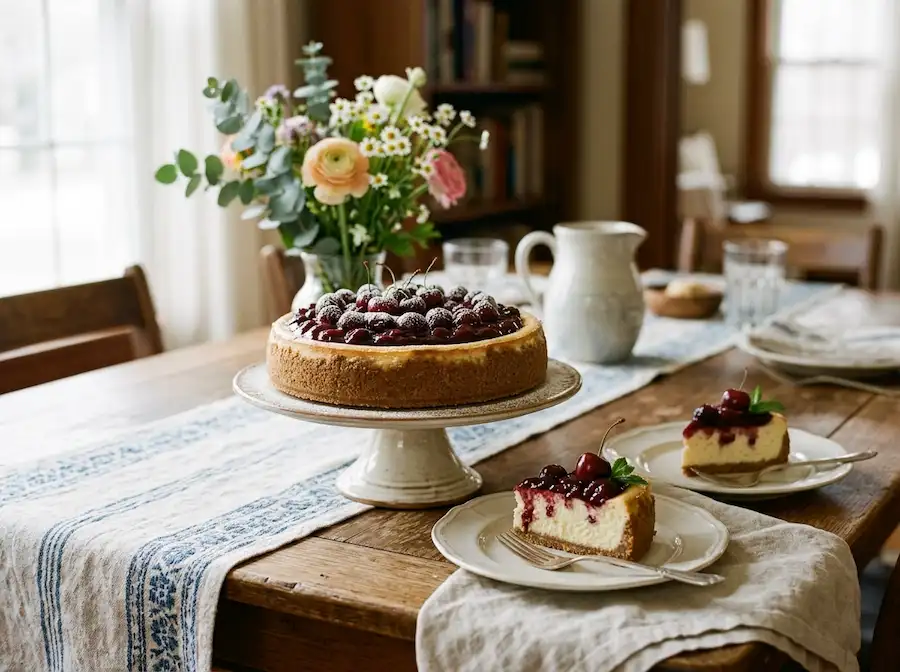
Add the cherry topping right before serving for the glossiest finish. Store leftovers covered in the refrigerator for up to 5 days, or freeze without the topping for up to a month.
Nutrition Disclaimer: Nutrition information is an estimate only and will vary based on specific brands and portion sizes used.