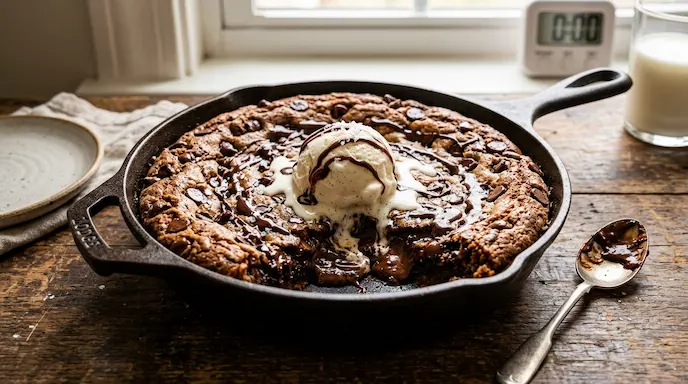
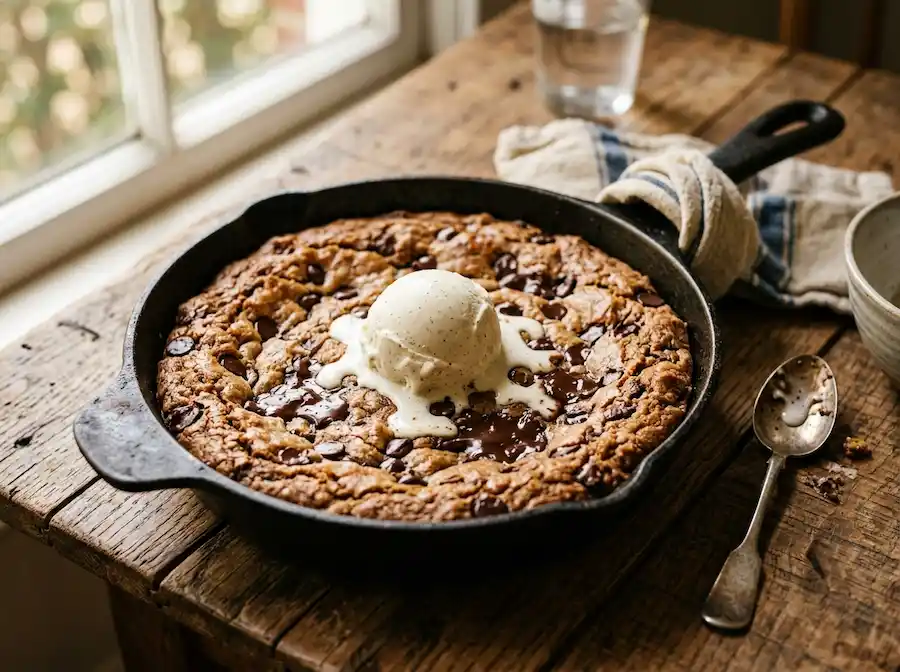
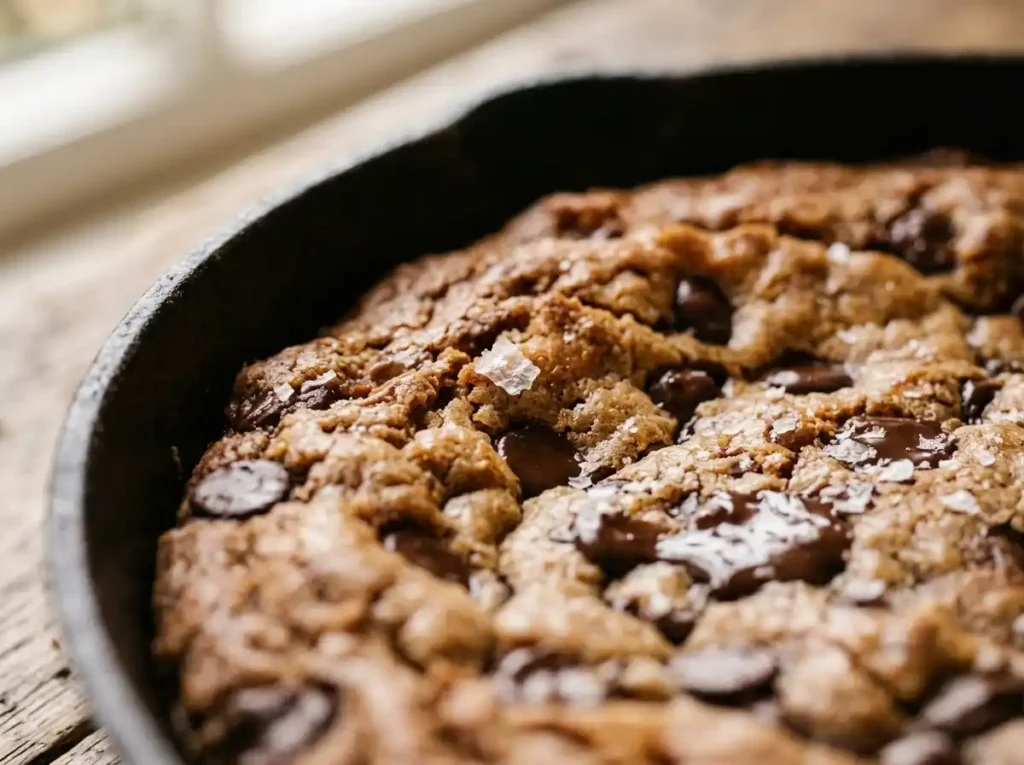
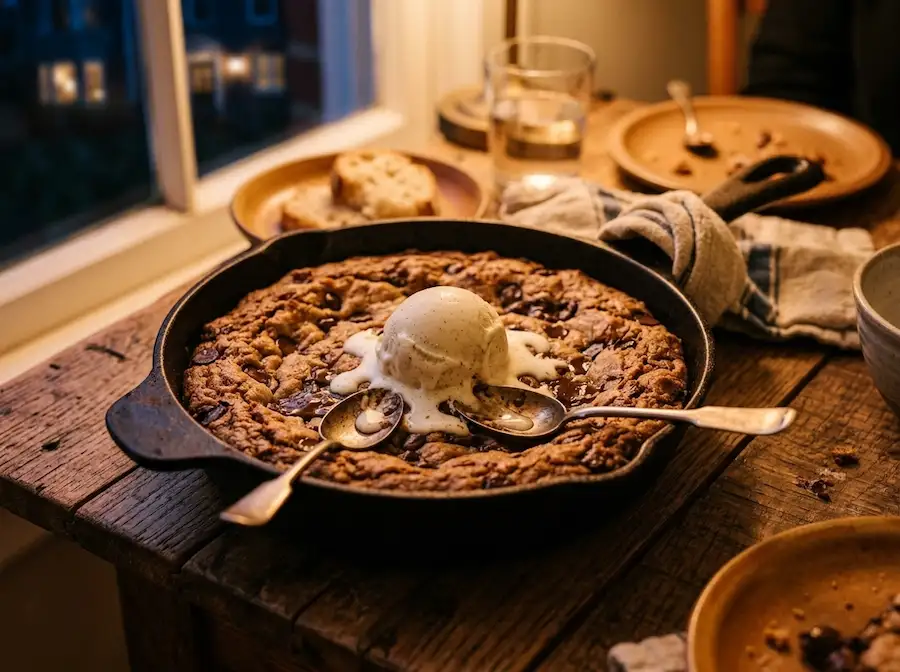
Chewy Chocolate Chip Skillet Cookie — rich, gooey, and on the table before your oven timer feels like it started.
Recipe Quick Overview
This gluten free dessert recipe turns five pantry staples into a warm, chewy skillet cookie with crackly edges and a molten chocolate center. It bakes in one pan, needs no mixer, and tastes like something from a bakery case — not a compromise dessert.
Prep Time: 10 minutes
Cook Time: 18 minutes
Total Time: 28 minutes
Servings: 6
Calories (Estimated): 310 kcal per serving
Ingredients
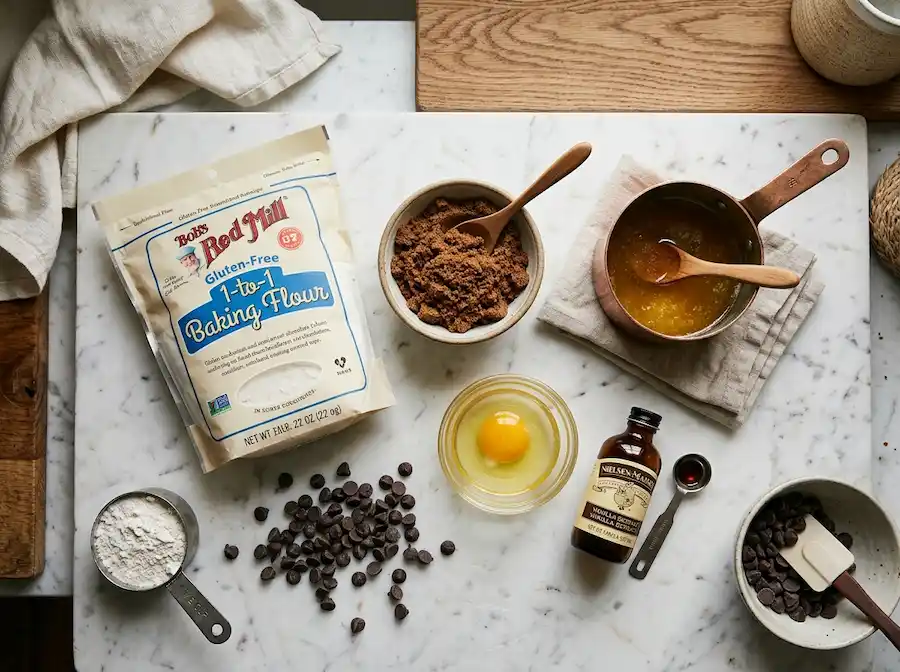
1 cup gluten-free 1:1 baking flour blend
1/2 teaspoon baking soda
1/4 teaspoon fine sea salt
6 tablespoons unsalted butter, melted
1/2 cup packed light brown sugar
1/4 cup granulated sugar
1 large egg, room temperature
1 teaspoon pure vanilla extract
3/4 cup semisweet chocolate chips (certified gluten-free)
Flaky sea salt, for finishing
Quick Instructions
Preheat the oven to 350°F and butter a 9-inch cast-iron skillet or cake pan.
Whisk the gluten-free flour, baking soda, and salt together.
Whisk melted butter with both sugars until smooth, then beat in the egg and vanilla.
Fold the dry ingredients into the wet ingredients until just combined.
Stir in the chocolate chips and spread the dough into the skillet.
Bake 16 to 19 minutes until the edges are set and the center is still soft.
Cool 8 minutes, sprinkle with flaky salt, and serve warm.
Notes: Use a certified gluten-free flour blend that already contains xanthan gum, and pull the skillet out while the center still looks slightly underdone — it firms up as it cools.
Why This Gluten Free Dessert Recipe Works When You’re Short on Time
Some nights call for a real dessert, not a compromise, and that’s exactly what this recipe delivers. You mix everything in one bowl, pour it into a single skillet, and let the oven do the rest while you clean up the kitchen. There’s no chilling the dough, no rolling, no waiting around for anything to set.
What makes it worth repeating is the texture: crisp, lacy edges give way to a center that’s soft enough to eat with a spoon. If you’ve ever loved a warm hummingbird cake recipe for its cozy, spiced comfort, this skillet cookie hits that same craving in a fraction of the time, with none of the gluten and none of the fuss.
Table of Contents
Why You’ll Love This Recipe
One bowl, one pan. Fewer dishes, less cleanup, more time to actually enjoy dessert.
Truly ready in under 30 minutes. Prep and bake time combined land right at 28 minutes.
No stand mixer required. A whisk and a spatula do all the work.
Texture that doesn’t scream “substitute.” The right flour blend keeps this chewy, not gritty or crumbly.
Endlessly adaptable. Swap mix-ins, make it dairy-free, or turn it into individual ramekins for portion control.
Ingredient Notes
Gluten-free flour blend: Choose a 1:1 all-purpose gluten-free blend that already includes xanthan gum — it’s what holds the cookie together and keeps the crumb tender instead of sandy. Blends built on rice flour and potato starch (like most major grocery-store brands) bake up closest to a traditional cookie. Store any extra in an airtight container in a cool, dry pantry for up to six months.
Butter: Melted butter, rather than softened and creamed, is what gives this skillet cookie its chewy, slightly fudgy interior. Unsalted lets you control the salt level; if you only have salted butter, simply skip the added pinch of fine sea salt in the dry ingredients.
Brown sugar and granulated sugar: Brown sugar brings moisture and a deep caramel note, while granulated sugar helps the edges crisp up. Using both together is what gives this dessert its bakery-style contrast between crisp rim and gooey center.
Egg: A room-temperature egg blends smoothly into melted butter without seizing it into cold clumps. If you forgot to take it out of the fridge, set it in a bowl of warm water for five minutes before cracking it in.
Vanilla extract: Use pure vanilla extract rather than imitation for a rounder, warmer flavor. It’s a small ingredient that makes a noticeable difference in a recipe this simple.
Chocolate chips: Check the label to confirm they’re certified gluten-free, since some brands process chips on shared lines with wheat-based products. Semisweet is classic, but bittersweet chips add a more grown-up, less-sweet finish.
Flaky sea salt: A finishing touch, not a substitute for the fine salt in the batter. It sits on top of the melted chocolate and sharpens every bite. Maldon or a similar flaked salt works best because it doesn’t dissolve into the warm cookie.
Kitchen Equipment
9-inch cast-iron skillet (or a 9-inch round cake pan)
Two mixing bowls, one for dry ingredients and one for wet
Whisk
Rubber spatula
Measuring cups and spoons
Oven mitts (a cast-iron handle stays hot long after the oven is off)
Step-by-Step Instructions
Step 1: Preheat and Prepare the Skillet
Preheat your oven to 350°F. Rub softened butter over the bottom and sides of a 9-inch cast-iron skillet, making sure to coat the corners where the dough meets the pan.
What to Look For: The butter should look like a thin, even sheen with no dry patches of metal showing through.
Helpful Tip: A well-buttered skillet is what lets you cut clean wedges later instead of fighting a stuck cookie.
Step 2: Whisk the Dry Ingredients
In a medium bowl, whisk together the gluten-free flour blend, baking soda, and fine sea salt until evenly combined.
What to Look For: No visible streaks of baking soda; the mixture should look uniform and pale.
Helpful Tip: Whisking (rather than stirring with a spoon) breaks up any clumps in the flour blend, which prevents dense pockets in the finished cookie.
Step 3: Combine Melted Butter and Sugars
In a separate bowl, whisk the melted butter with the brown sugar and granulated sugar for about 60 seconds, until the mixture looks glossy and slightly lighter in color.
What to Look For: The sugar should look fully dissolved into the butter, with a smooth, almost caramel-like sheen.
Helpful Tip: Let the melted butter cool for two or three minutes before this step so it doesn’t cook the egg in the next step.
Step 4: Add the Egg and Vanilla
Whisk the egg and vanilla extract into the butter-sugar mixture until fully incorporated, about 30 seconds.
What to Look For: The batter should turn a lighter, creamy tan color and look slightly thickened.
Helpful Tip: Whisk briskly right after adding the egg to help it emulsify quickly into the warm butter.
Step 5: Bring the Batter Together
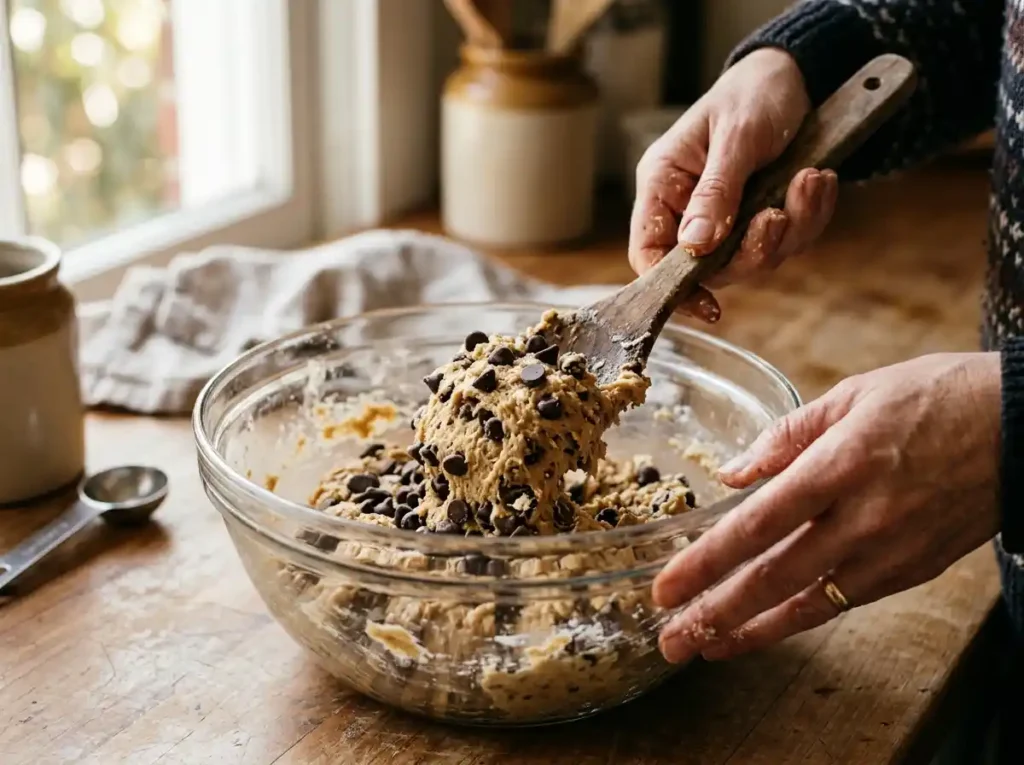
Add the dry ingredients to the wet ingredients. Fold gently with a rubber spatula just until no dry flour remains, then fold in the chocolate chips.
What to Look For: A thick, scoopable dough with chocolate chips evenly distributed throughout, and no dry, powdery streaks.
Helpful Tip: Stop folding as soon as the flour disappears. Overmixing gluten-free dough can make the finished texture gummy rather than chewy.
Step 6: Spread the Dough and Bake
Transfer the dough to the prepared skillet and press it evenly to the edges with a spatula or damp fingertips. Bake for 16 to 19 minutes.
What to Look For: The edges should look matte and set, while the very center still looks slightly glossy and underbaked.
Helpful Tip: Pull it out a minute earlier than you think you should. Carryover heat finishes the center as it rests, so an underbaked-looking middle is exactly what you want.
Step 7: Cool Briefly and Finish
Let the skillet cookie rest for 8 minutes. Sprinkle with flaky sea salt while it’s still warm.
What to Look For: The surface will settle from puffed to slightly sunken in the center, and the chocolate chips will look glossy and half-melted.
Helpful Tip: Eight minutes is the sweet spot — long enough for clean wedges, short enough that the center stays warm and gooey.
What to Look For When It’s Perfectly Done
The trickiest part of any skillet cookie is knowing when to stop baking, especially with gluten-free flour, which can look deceptively pale even when it’s ready. Watch the edges, not the center: once they turn golden brown and pull very slightly away from the pan, the cookie is close. The middle should still have a slight jiggle and a glossy sheen — that’s carryover heat territory, and it will set up perfectly as it rests on the counter.
Expert Tips for the Best Results
Weigh your flour if you can. Gluten-free blends pack differently than regular flour, and a kitchen scale prevents a dry, crumbly cookie from too much flour.
Don’t skip the rest of the melted butter. Give it a few minutes to cool before mixing so it doesn’t scramble the egg.
Room-temperature egg matters more here than in wheat-based baking. Gluten-free batters are more sensitive to sudden temperature shifts, which can cause uneven baking.
Use a light-colored skillet if you have one. Dark cast iron browns the bottom faster, so check a minute or two early the first time you make this.
Press the dough evenly. Thin spots bake faster and can turn crisp instead of chewy.
Save a few chocolate chips for the top. Pressing extra chips into the surface right before baking creates that bakery-style, chip-studded look.
Let it rest the full eight minutes. Cutting too early means the center falls apart instead of holding a clean wedge.
Store leftover flour blend properly. Gluten-free flours can go rancid faster than wheat flour thanks to added starches; keep it airtight and cool.
Taste your blend before committing. Some gluten-free flours have a slight aftertaste on their own; a quick taste test tells you if you need to lean on extra vanilla to balance it.
Double the batch for a crowd. This recipe scales well into a 10-inch skillet with about five extra minutes of bake time.
Common Mistakes to Avoid
Using a gluten-free flour blend without xanthan gum. Without it, the cookie can crumble apart instead of holding together in clean wedges. Check the ingredient label before you buy.
Overbaking because the color looks pale. Gluten-free cookies often stay lighter in color than wheat-based ones even when fully baked, so rely on the edge-versus-center test rather than color alone.
Skipping the rest time. This skillet cookie needs those eight minutes to finish setting; serving it straight from the oven usually means a cookie that falls apart on the plate.
Packing the flour into the measuring cup. This adds extra flour and dries out the final texture. Spoon the flour into the cup and level it off instead of scooping directly from the bag.
Easy Variations
Dairy-Free: Swap the butter for a plant-based butter stick with a similar fat content, and use dairy-free chocolate chips.
Nut-Free: This base recipe is already nut-free as written; just double-check your chocolate chip brand for cross-contamination warnings if allergies are a concern.
Berry Version: Fold in 1/2 cup of fresh or frozen raspberries along with the chocolate chips for a tart contrast against the rich, buttery base.
Double Chocolate Version: Replace 3 tablespoons of the gluten-free flour with unsweetened cocoa powder for a deeper, brownie-like flavor.
Citrus Version: Add 1 teaspoon of finely grated orange or lemon zest to the wet ingredients for a bright, fragrant twist, similar to the citrusy lift you’d find in a lemon cupcake recipe.
If cookies aren’t quite what you’re craving tonight, this same craveable, quick spirit runs through other desserts worth exploring on the site, like a classic toll house cookie recipe, a creamy cherry cheesecake recipe, or an elegant chocolate eclair dessert for when you have a little more time to spare.
Serving Suggestions
Serve this warm dessert straight from the skillet while it’s still warm, with a scoop of vanilla ice cream melting into the crevices. It’s an easy centerpiece for a casual weeknight dinner, a low-key birthday, or a last-minute gathering when you want something homemade without hours of effort.
Best occasions: Weeknight cravings, game-day dessert, last-minute guests, cozy movie nights.
Best beverages: A cold glass of milk, a scoop of coffee affogato-style, or a warm mug of decaf coffee.
Garnishing ideas: Flaky sea salt, a light dusting of powdered sugar, or a drizzle of warmed chocolate or caramel sauce.
Presentation tips: Bring the skillet straight to the table on a trivet and let everyone dig in with their own spoon for a rustic, shareable moment.
Storage Tips
Cover the skillet tightly with foil or transfer leftover cookie to an airtight container and store at room temperature for up to 3 days. For longer storage, refrigerate for up to a week; a few seconds in the microwave brings back that just-baked, gooey texture. To freeze, wrap individual wedges tightly in plastic and freeze for up to 2 months, then thaw at room temperature or warm gently in the microwave.
Frequently Asked Questions
Is this gluten free dessert recipe safe for celiac disease?
It can be, as long as every ingredient — especially the flour blend and chocolate chips — is labeled certified gluten-free and your kitchen avoids cross-contamination with wheat-based products. According to the FDA’s gluten-free labeling rule, products labeled “gluten-free” must contain less than 20 parts per million of gluten.
Can I make this without a cast-iron skillet?
Yes. A 9-inch round cake pan or an oven-safe ceramic dish works just as well. Just make sure whatever you use is fully oven-safe at 350°F.
Why did my cookie turn out crumbly instead of chewy?
This usually means the flour blend didn’t contain xanthan gum, or the dough was overbaked. Double-check your flour label and pull the skillet out while the center still looks slightly underdone.
Can I prepare the dough ahead of time?
You can mix the dough up to a day ahead and refrigerate it, covered, in the skillet. Let it sit at room temperature for about 15 minutes before baking so it bakes evenly.
What’s the best gluten-free flour blend for this recipe?
Look for a 1:1 all-purpose gluten-free blend built on rice flour and potato or tapioca starch, with xanthan gum already included. These blends are formulated to substitute directly for regular flour without extra adjustments.
Can I make individual portions instead of one big skillet cookie?
Absolutely. Divide the dough among 4 to 6 small oven-safe ramekins and reduce the bake time to about 12 to 14 minutes, checking for the same golden-edge, soft-center cue.
Is this recipe also dairy-free?
Not as written, since it uses butter, but the Dairy-Free variation above swaps in a plant-based butter and dairy-free chocolate chips with no other changes needed.
Final Thoughts
A great gluten free dessert recipe shouldn’t feel like a consolation prize, and this skillet cookie proves it doesn’t have to be. It’s warm, chocolatey, and finished before most desserts have even made it into the oven. Once you’ve got the base down, it’s easy to riff on it — a little citrus zest here, a swap to dairy-free there — the same way you might dress up a lemon cupcake recipe for different occasions. Keep this one in your back pocket for the nights when dessert needs to happen fast, and happen well.
Notes
For the chewiest texture, pull the skillet out of the oven while the center still looks slightly underbaked; it will finish setting as it cools. According to the USDA, whole-grain and enriched gluten-free flour blends can vary in nutrient content, so check individual product labels for the most accurate nutrition information.
Contains information related to marketing campaigns of the user. These are shared with Google AdWords / Google Ads when the Google Ads and Google Analytics accounts are linked together.
90 days
__utma
ID used to identify users and sessions
2 years after last activity
__utmt
Used to monitor number of Google Analytics server requests
10 minutes
__utmb
Used to distinguish new sessions and visits. This cookie is set when the GA.js javascript library is loaded and there is no existing __utmb cookie. The cookie is updated every time data is sent to the Google Analytics server.
30 minutes after last activity
__utmc
Used only with old Urchin versions of Google Analytics and not with GA.js. Was used to distinguish between new sessions and visits at the end of a session.
End of session (browser)
__utmz
Contains information about the traffic source or campaign that directed user to the website. The cookie is set when the GA.js javascript is loaded and updated when data is sent to the Google Anaytics server
6 months after last activity
__utmv
Contains custom information set by the web developer via the _setCustomVar method in Google Analytics. This cookie is updated every time new data is sent to the Google Analytics server.
2 years after last activity
__utmx
Used to determine whether a user is included in an A / B or Multivariate test.
18 months
_ga
ID used to identify users
2 years
_gali
Used by Google Analytics to determine which links on a page are being clicked
30 seconds
_ga_
ID used to identify users
2 years
_gid
ID used to identify users for 24 hours after last activity
24 hours
_gat
Used to monitor number of Google Analytics server requests when using Google Tag Manager