
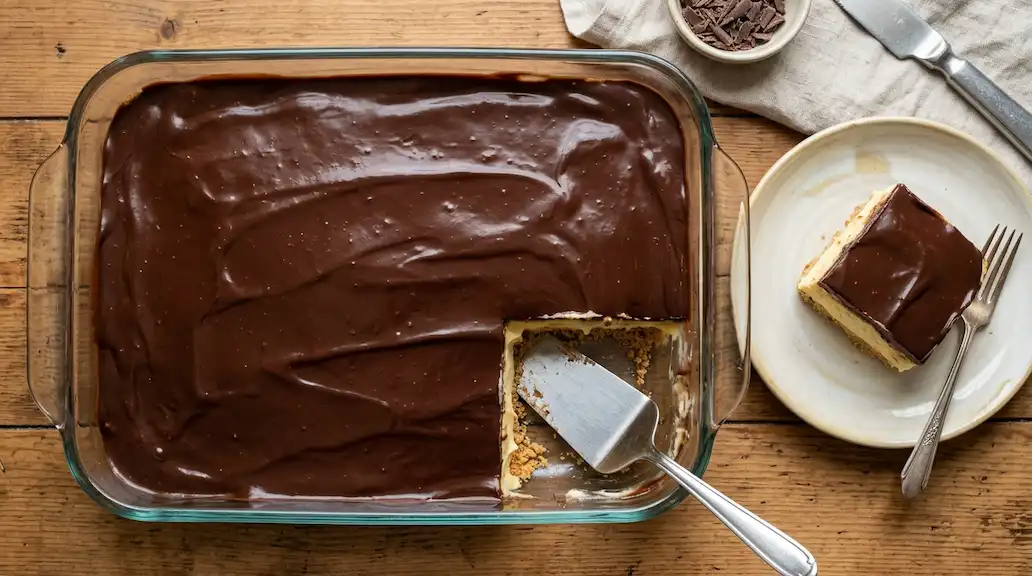
This creamy chocolate eclair dessert comes together in layers of graham crackers, vanilla pudding, and rich chocolate frosting — no oven required. It’s the kind of make-ahead treat that disappears fast at potlucks, birthdays, and holiday tables.
- Prep Time: 20 minutes
- Chill Time: 4 hours (overnight recommended)
- Cook Time: None (no-bake)
- Total Time: 4 hours 20 minutes
- Servings: 12
- Estimated Calories: 320 per serving
Ingredients at a Glance
- 2 boxes (3.4 oz each) instant vanilla pudding mix
- 3 1/2 cups cold whole milk
- 16 oz whipped topping, divided
- 2 sleeves graham crackers
- 1 1/2 cups chocolate frosting
- 2 tablespoons milk (to thin the frosting)
Quick Instructions
- Whisk pudding mix with cold milk until thick.
- Fold in half the whipped topping.
- Layer graham crackers, pudding mixture, and repeat.
- Warm and thin the frosting, then pour over the top layer.
- Chill at least 4 hours before slicing.
Notes: For the cleanest slices, chill the dessert overnight and use a sharp knife wiped clean between cuts.
Table of Contents
Why This Chocolate Eclair Dessert Works
A good chocolate eclair dessert should taste like the pastry it’s named after — creamy vanilla custard, crisp layers, and a shiny chocolate top — without any of the fuss of piping dough or baking choux pastry. This version leans on graham crackers instead of eclair shells, and instant pudding instead of stovetop custard, so it sets up in the fridge while you do something else entirely.
It’s an easy fit for potlucks, holiday dessert tables, and birthday parties because it travels well in the same dish it’s made in, and it actually improves after a day in the fridge as the crackers soften into cake-like layers. If you’re planning a spread that also needs something lighter, this gluten free dessert recipe pairs nicely alongside it for guests avoiding wheat.
Why You’ll Love This Chocolate Eclair Dessert
- Zero oven time. Everything happens on the counter and in the fridge.
- Make-ahead friendly. It needs to chill anyway, so it’s built for prepping a day early.
- Crowd-sized. One 9×13 dish easily serves 12.
- Budget ingredients. Pudding mix, milk, graham crackers, and frosting — nothing exotic.
- Kid-friendly assembly. No knife skills or hot stovetops involved, so little hands can help layer.
Ingredients
Here’s everything you’ll need for a 9×13-inch dish. Full amounts and substitutions are in the ingredient notes below, and the printable recipe card at the end of this article has the complete list with exact measurements.
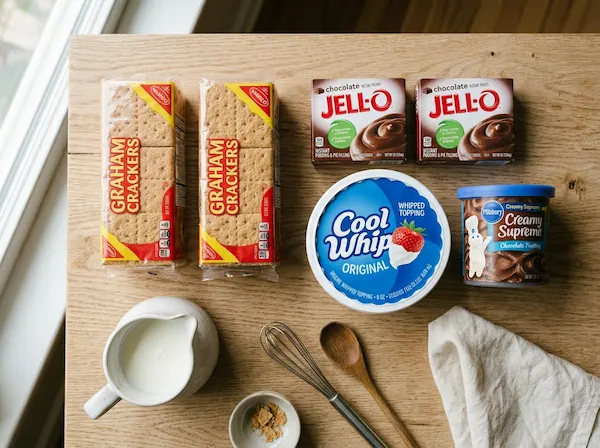
- Instant vanilla pudding mix
- Cold whole milk
- Whipped topping
- Graham crackers
- Chocolate frosting
- A splash of milk to thin the frosting
Ingredient Notes
Graham Crackers
Graham crackers are the structural backbone of this dessert. As they sit in the fridge, moisture from the pudding softens them into a texture close to cake, which is exactly the effect you want. Standard honey graham crackers work best; cinnamon or chocolate graham crackers are fun swaps if you want to change the flavor profile slightly.
Instant Pudding
Instant pudding sets through cornstarch activation rather than heat, which is why this dessert never touches the stove. Vanilla is classic, but French vanilla or cheesecake-flavored instant pudding both work well here. Always use cold milk — warm milk prevents the pudding from thickening properly.
Milk
Whole milk gives the richest, most stable pudding layer. Low-fat milk will still set, but the texture turns out slightly thinner. Avoid skim milk if you can, since the pudding may not firm up enough to hold clean layers when sliced.
Whipped Topping
Folding whipped topping into the pudding lightens the texture so it isn’t overly dense. If you prefer, homemade stabilized whipped cream can replace it, though it won’t hold up quite as long at room temperature during serving.
Chocolate Frosting
Canned chocolate frosting, warmed gently and thinned with a splash of milk, creates that glossy, pourable topping the dessert is named for. Warming it is the single most important step for a smooth, even top layer — cold frosting straight from the can tears the crackers underneath when spread.
Substitutions and Buying Tips
Look for a graham cracker brand with sturdy, less crumbly sheets — thinner store brands can break during layering. Any name-brand instant pudding works, and generic whipped topping performs the same as the popular name brands. If you want a slightly less sweet version, a ganache made from chocolate chips and heavy cream can replace the canned frosting.
Storage Overview
This dessert keeps well covered in the refrigerator for up to 4 days. It does not freeze cleanly, since the pudding layer separates slightly when thawed.
Kitchen Tools You’ll Need
- 9×13-inch glass or ceramic baking dish
- Large mixing bowl and whisk
- Rubber spatula for folding and spreading
- Microwave-safe bowl for warming the frosting
- Sharp knife for clean slices
- Plastic wrap or a tight-fitting lid
Step-by-Step Instructions
Step 1: Make the Pudding Base
In a large bowl, whisk both boxes of instant pudding mix with the cold milk for about 2 minutes, until it starts to thicken. Let it sit for 5 minutes so it fully sets before moving on.
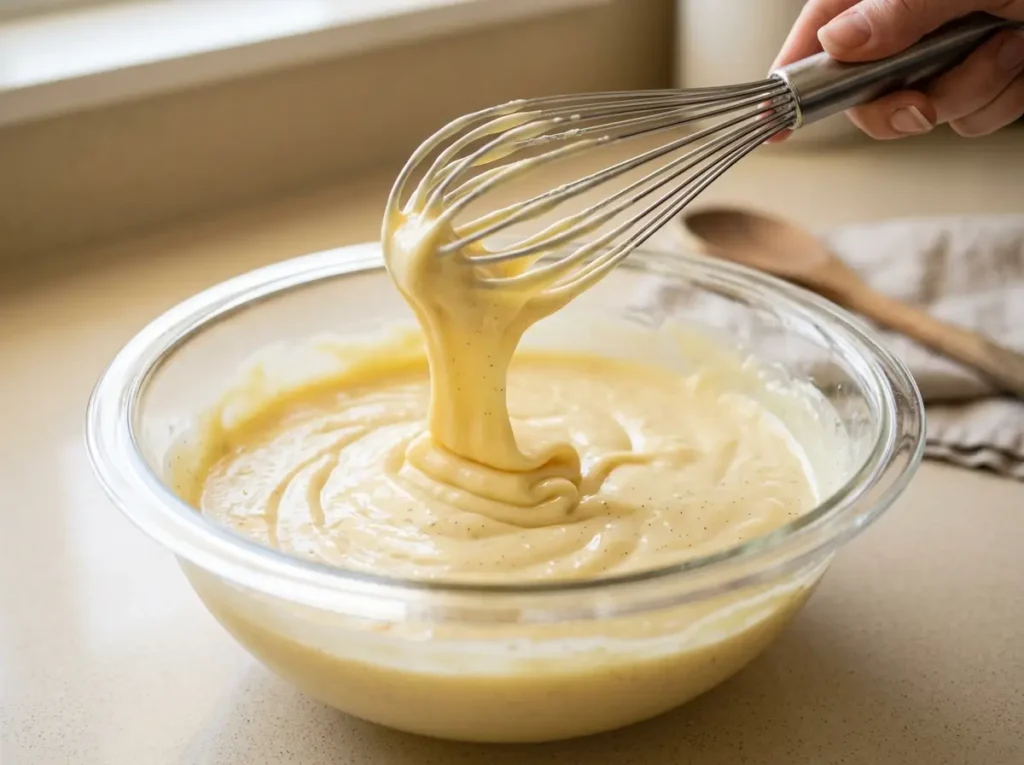
What to Look For: The pudding should hold a ribbon shape when you lift the whisk and coat the back of a spoon without running off immediately.
Helpful Tip: Whisk continuously for the first minute — stopping too early leaves lumps that won’t smooth out later.
Step 2: Fold in the Whipped Topping
Add half of the whipped topping to the pudding and fold gently with a spatula, turning the bowl as you go, until no white streaks remain.
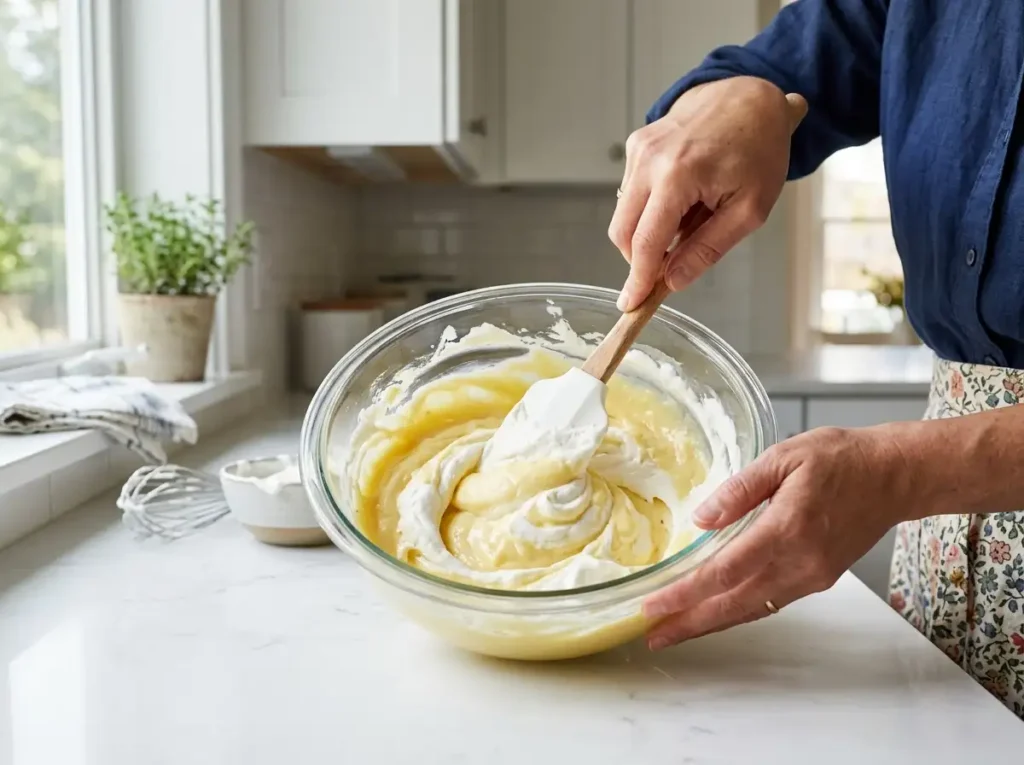
What to Look For: The mixture should look pale and airy, noticeably lighter than the pudding alone, with an even color throughout.
Helpful Tip: Fold instead of stir — stirring hard deflates the whipped topping and makes the layer denser than it should be.
Step 3: Layer the First Round of Graham Crackers
Arrange a single layer of graham crackers across the bottom of your baking dish, breaking pieces as needed to fill any gaps completely.
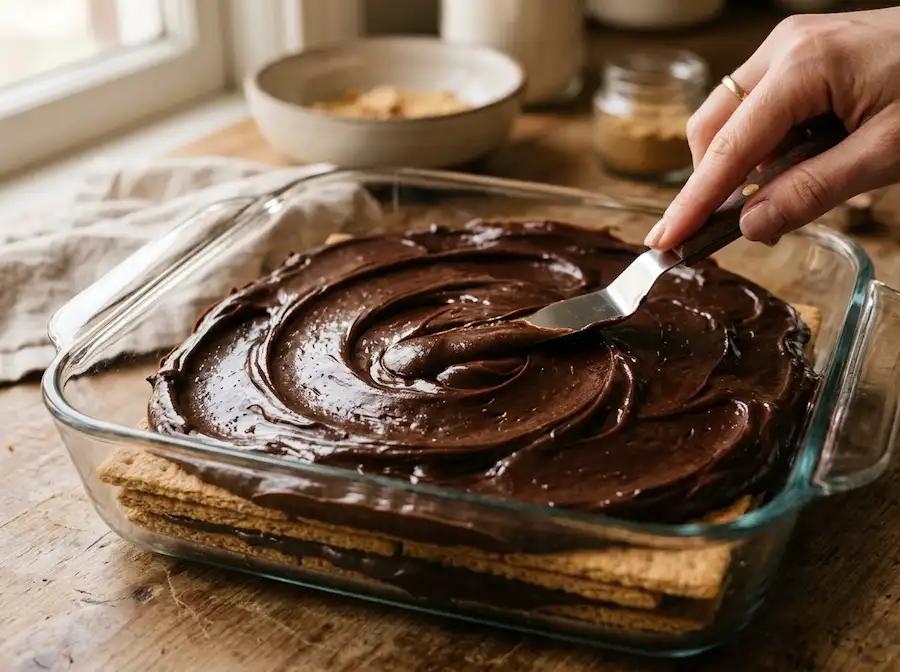
What to Look For: The bottom of the dish should be fully covered with minimal open space between crackers.
Helpful Tip: Save any oddly-shaped broken pieces for the middle layer, where perfect edges matter less.
Step 4: Add the First Pudding Layer
Spread half of the pudding mixture evenly over the graham crackers using an offset spatula, working from the center outward to the edges.
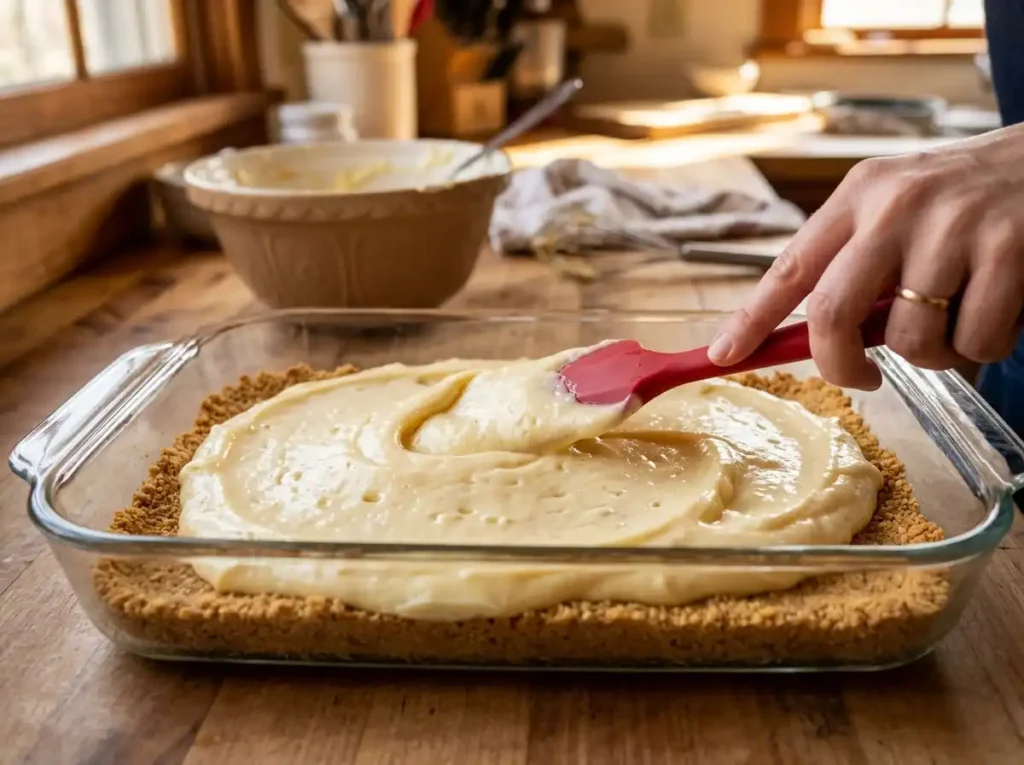
What to Look For: The layer should be roughly even in thickness, about 1/2 inch, with no crackers poking through.
Helpful Tip: Dab small spoonfuls around the dish first, then spread — this avoids dragging crumbs up into the pudding.
Step 5: Repeat the Layers
Add a second layer of graham crackers directly on top of the pudding, then spread the remaining pudding mixture over that layer just as before.
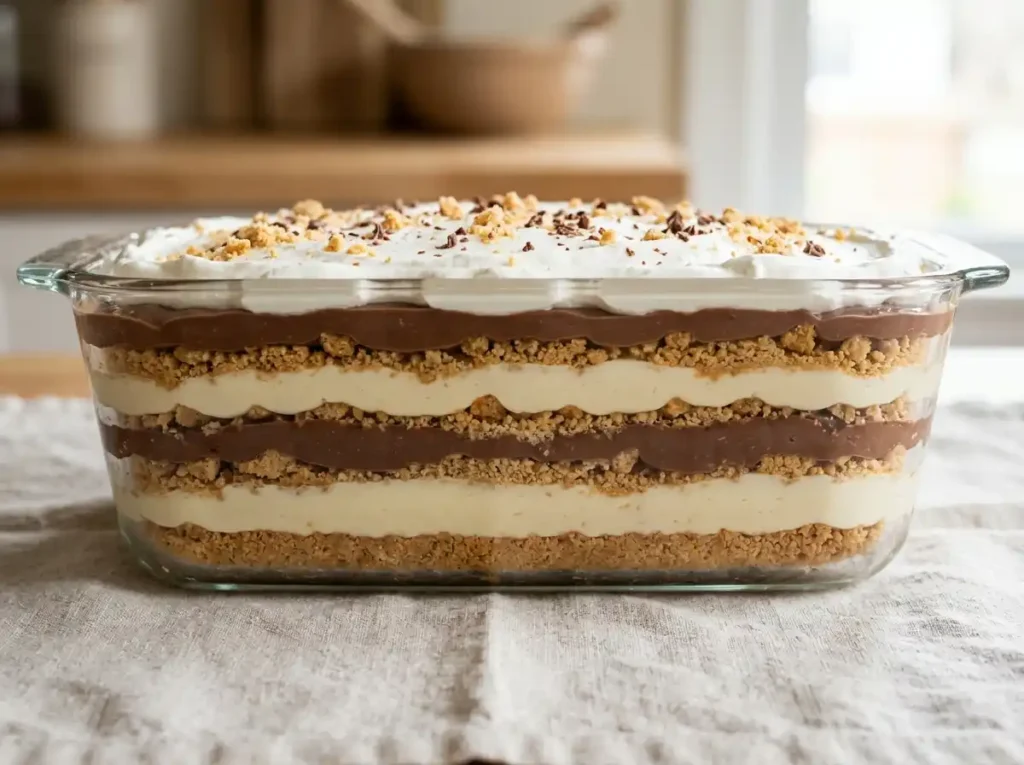
What to Look For: You should now have four distinct layers: crackers, pudding, crackers, pudding.
Helpful Tip: Press crackers down very gently so they sit level — pressing too hard pushes pudding up around the edges.
Step 6: Add the Final Cracker Layer
Top the second pudding layer with one more layer of graham crackers, arranged as neatly as possible since this becomes the base for the chocolate topping.
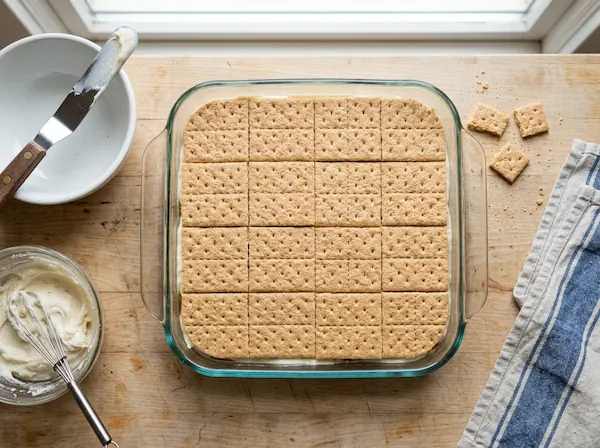
What to Look For: This top layer should look tidy and mostly flat, since any bumps will show through the frosting.
Helpful Tip: Break a few crackers into smaller pieces to patch any awkward gaps along the dish’s edges.
Step 7: Warm and Pour the Chocolate Frosting
Microwave the chocolate frosting with the extra milk in 15-second bursts, stirring between each, until it’s smooth and pourable but not hot. Pour it over the top cracker layer and spread gently to the edges.
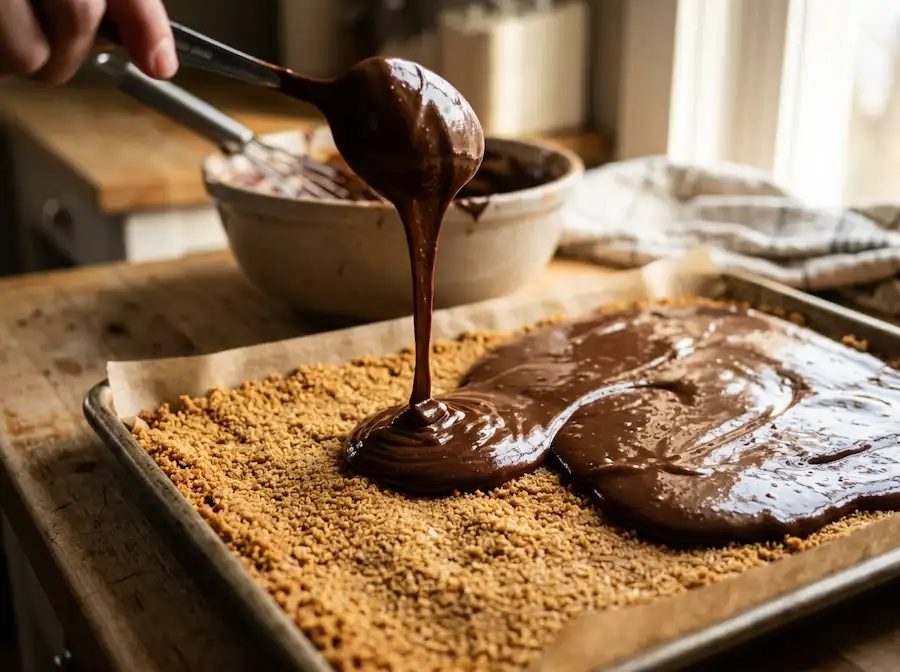
What to Look For: The frosting should flow slowly off a spoon, similar to warm caramel, and spread without tearing the crackers underneath.
Helpful Tip: Let the frosting cool for a minute after microwaving — pouring it too hot can melt into the pudding layer below.
Step 8: Chill Completely
Cover the dish with plastic wrap and refrigerate for at least 4 hours, though overnight gives the best texture and the cleanest slices.
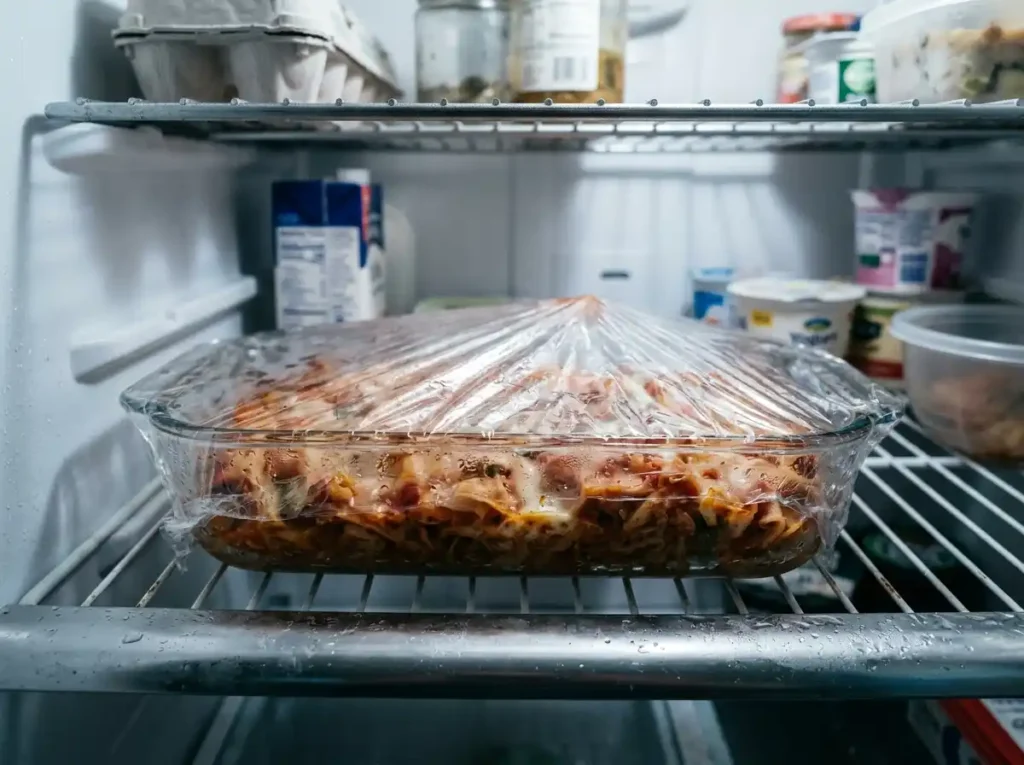
What to Look For: The frosting should look set and matte rather than glossy and wet when it’s ready to slice.
Helpful Tip: Resist cutting early — the crackers need the full chill time to soften into that signature cake-like bite.
Step 9: Slice and Serve
Cut into 12 squares using a sharp knife, wiping the blade clean between cuts for the neatest presentation.
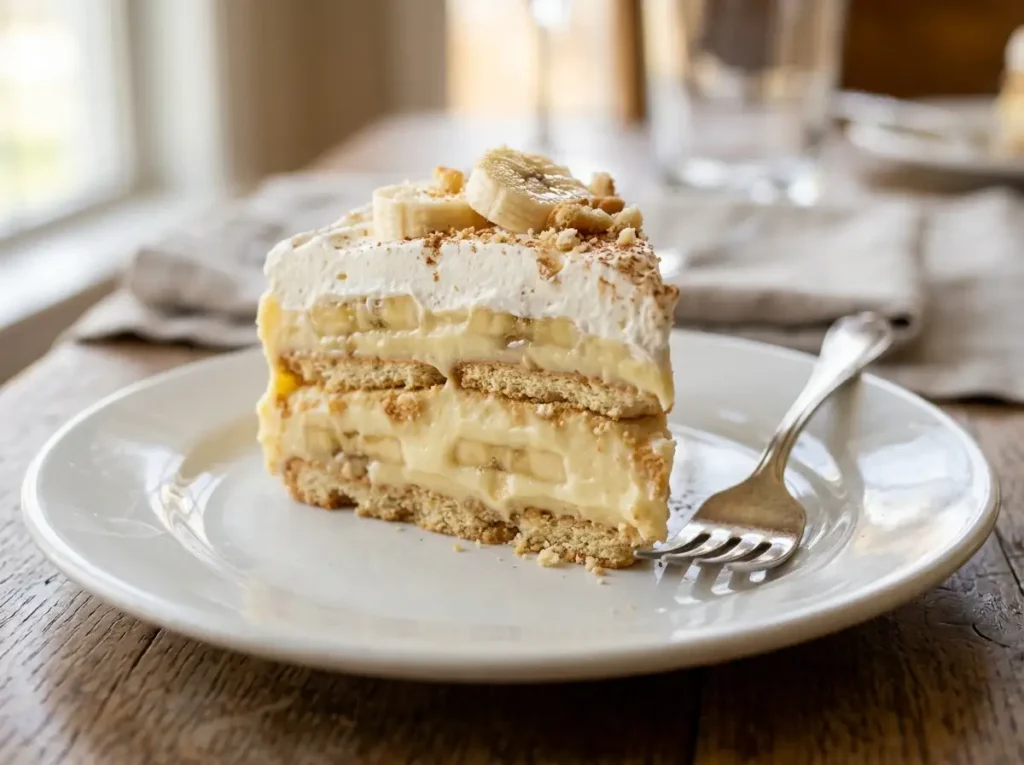
What to Look For: Each slice should show clean, distinct layers without the pudding oozing out the sides.
Helpful Tip: Dip the knife in warm water and dry it before each cut for bakery-style clean edges.
Expert Tips
- Chill the dish on a flat refrigerator shelf so the layers set evenly rather than at an angle.
- Warm the frosting in short bursts — overheating can make it too thin to hold its shape once chilled.
- Use a 9×13 glass dish rather than metal so you can see the layers through the sides when serving.
- Let leftovers sit at room temperature for 5-10 minutes before serving for the best texture.
- Break graham crackers with your hands rather than a knife for more natural-looking fill pieces.
- Make sure your milk is truly cold, straight from the fridge, for the pudding to thicken properly.
- Double-check pudding box instructions — some brands recommend slightly different milk ratios.
- Use a rubber spatula, not a whisk, when spreading pudding to avoid dragging up cracker crumbs.
- If frosting seizes while warming, add another teaspoon of milk and stir until it loosens again.
- Line the dish edges with a thin strip of parchment before adding crackers for easier cleanup.
- Slice with a bench scraper instead of a knife for extra-clean square edges on a crowd-sized batch.
- Taste your pudding mixture before assembling — this is your last chance to adjust flavor.
Common Mistakes to Avoid
Thin, Runny Pudding
This usually means the milk wasn’t cold enough or the pudding didn’t rest long enough after whisking. Always use milk straight from the fridge and let the mixture sit a full 5 minutes before folding in whipped topping.
Warm Frosting That Tears the Crackers
Frosting that’s too hot melts into the layer below and can tear delicate crackers. Warm it just until pourable, then let it cool slightly before spreading.
Uneven Layers
Rushing the spreading step often leaves thick and thin spots. Take an extra minute to spread pudding from the center outward so each layer is level before adding the next.
Insufficient Chilling
Cutting before the full chill time results in crackers that are still crunchy instead of softened, and slices that fall apart. Give it the full 4 hours, or better yet, overnight.
Broken or Crumbled Crackers
Pressing down too hard while layering breaks crackers unevenly. Lay them gently and use smaller broken pieces only to patch gaps, not as full layers.
Cutting Too Early or Too Roughly
Slicing right after chilling without wiping the knife between cuts smears the layers together. Wipe the blade clean after every slice for neat presentation.
Easy Variations
Chocolate Lovers Version
Swap the vanilla pudding for chocolate instant pudding to double down on the chocolate flavor throughout every layer.
Peanut Butter Version
Fold 1/3 cup of softened peanut butter into the pudding mixture and drizzle a bit more on top before chilling.
Oreo Version
Replace the graham crackers with whole Oreo cookies and fold crushed Oreo pieces into the pudding layer.
Strawberry Version
Layer sliced fresh strawberries between the pudding and cracker layers for a fruity contrast to the chocolate top.
Mini Cups
Build the same layers in individual clear cups for portioned, party-friendly servings that need no slicing at all.
Holiday Version
Add a light dusting of crushed peppermint or a drizzle of white chocolate over the top for a festive finish.
Make-Ahead Tips
This dessert is built for making ahead — in fact, it needs the chill time regardless, so preparing it the night before a gathering works in your favor. Assemble it fully, cover tightly, and refrigerate up to 24 hours before serving for the softest, most cake-like layers.
Storage
Store leftovers covered in the refrigerator for up to 4 days. Keep plastic wrap pressed close to the surface to prevent the frosting from drying out or picking up other fridge odors. This dessert isn’t recommended for freezing, since the pudding layer tends to weep and separate once thawed.
Serving Ideas
This layered treat fits almost any casual gathering. Serve it at family dinners as a make-ahead finish so you’re not stuck in the kitchen after the main course. It’s an easy potluck contender since it travels in its own dish and doesn’t need last-minute assembly. For birthday parties, cut smaller squares for a kid-friendly portion size, and for summer entertaining, it makes a refreshing no-bake alternative when you don’t want to turn on the oven.
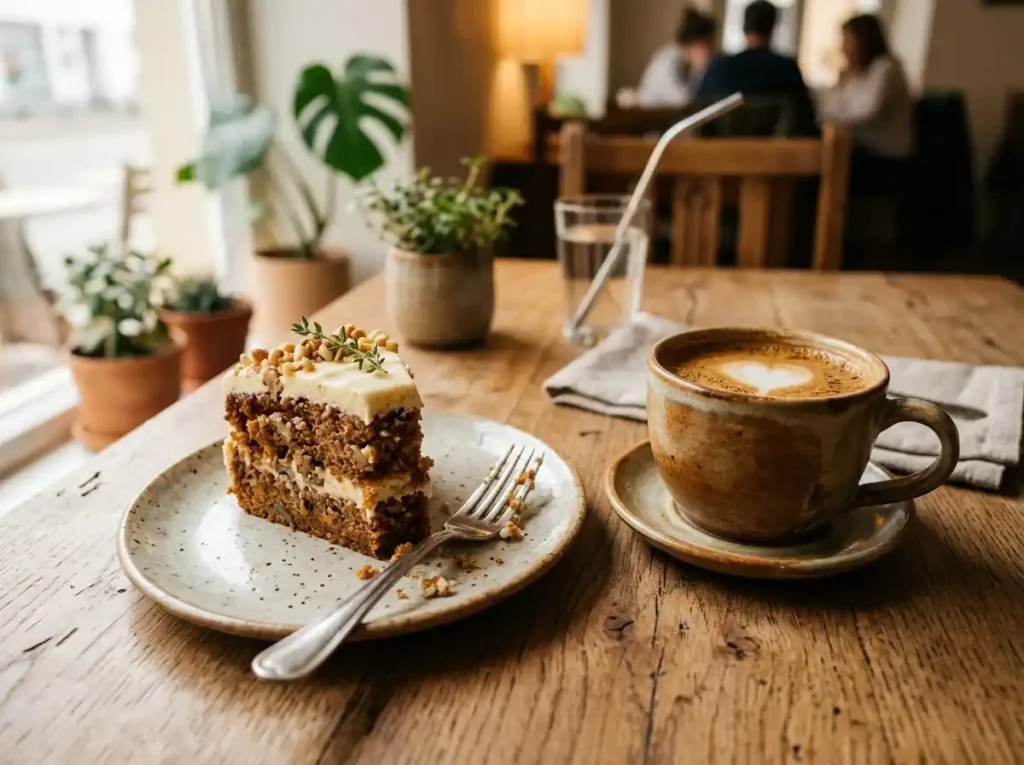
Pair a slice with a cup of coffee or espresso for an easy after-dinner treat. If you want to dig deeper into that pairing, how to make a coffee and chocolate dessert is worth exploring for your next gathering, and if you’re planning a full dessert spread, something like a chocolate trifle dessert recipe or a bright fruit salad rounds things out nicely on the same table.
Frequently Asked Questions
Can I make this recipe gluten-free?
Yes — substitute a gluten-free graham cracker brand and double-check that your pudding mix and frosting are labeled gluten-free, since some brands process on shared equipment.
Do I have to use whipped topping, or can I use whipped cream?
Whipped cream works, though it’s softer and won’t hold structure quite as long once sliced and left at room temperature.
Why is my pudding not thickening?
The milk is likely too warm, or the mixture wasn’t whisked long enough. Cold milk and a full 5-minute rest are essential for instant pudding to set properly.
Can I make this a day ahead of a party?
Absolutely — this dessert is designed to be made ahead, since it needs several hours to chill regardless. Overnight is ideal.
How long does it last in the fridge?
Covered tightly, it stays fresh for up to 4 days in the refrigerator.
Can I freeze this dessert?
Freezing isn’t recommended, since the pudding layer separates and turns watery once thawed, affecting both texture and appearance.
Final Thoughts
This chocolate eclair dessert delivers everything people love about the classic pastry — creamy layers, crisp-turned-soft texture, and a glossy chocolate finish — with almost none of the effort. It’s forgiving enough for a first-time host and reliable enough for a regular in your dessert rotation, especially anytime you need something made ahead that still looks impressive when it hits the table.
Notes
For the cleanest slices, chill overnight and wipe the knife clean between cuts. Store leftovers covered in the refrigerator for up to 4 days; this dessert does not freeze well.
Nutrition Disclaimer: Nutrition information is an estimate only and will vary based on specific brands and portion sizes used.